Banish those Boring Baseboards
Recently we had our wood floors refinished. While admiring my floors, I started noticing my baseboards. After 20 years, they were looking pretty beat up. I also realized that I had the cheapest and plainest boards. There are so many options out there for upgrading your boards. I was ready for a change.
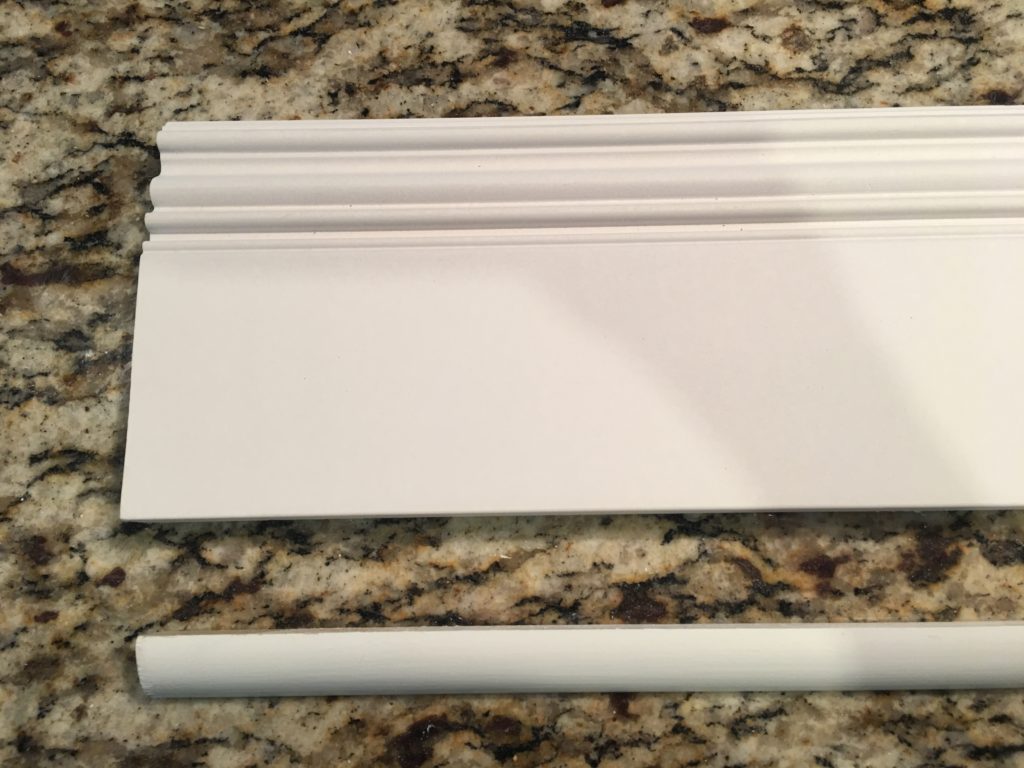
I started out by looking for different designs online at home improvement store sites. Although stores offer a variety of baseboards in the store, I wanted something with more height and detail. I picked the one pictured above and had them delivered to the store. I also purchased quarter rounders. I painted everything first.

Next it was time to remove the old baseboards. This was much easier than I anticipated. There are a multitude of instructions online to help you with this process.

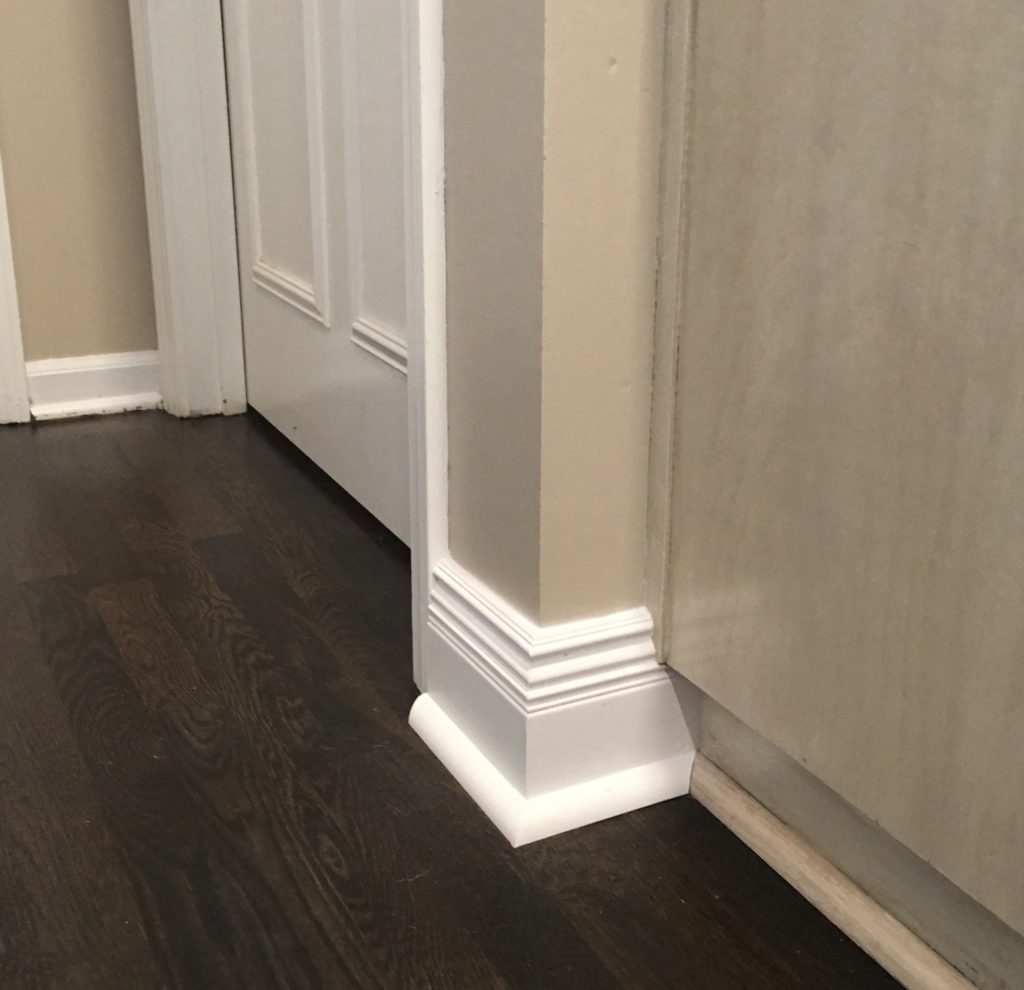
The process goes pretty quickly. I measured and cut inside and outside right angles with my mitre saw. I nailed the boards into the wall. The quarter rounds go on last and are also nailed to the wall. I caulked all the joints and seams and then painted over those areas.