Ugly Door Makeover
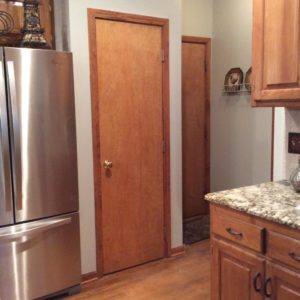
When we built our home in 2000, honey oak was in style. I thought it looked great. Now I’m completely over it and ready for an update. So instead of buying a new door, I added crown molding touches with pleasing results.
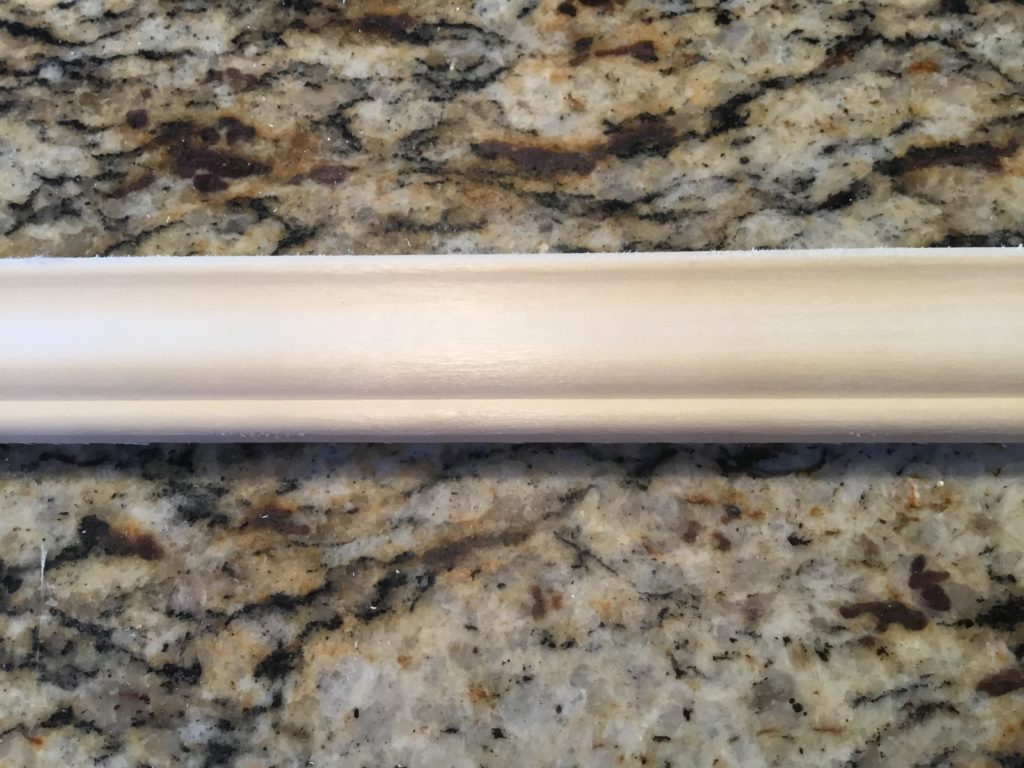
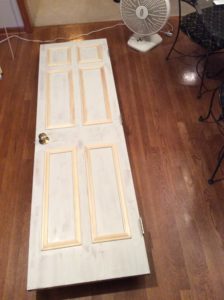
I started by removing the door. It’s not necessary to take it off, but I think it’s easier to work with. I sanded the door by hand. Not much sanding is needed, you just want to rough up the surface a bit. You should also clean the door to remove any dirt or oils. I then bought crown molding at a home improvement store. You can choose whatever design you like. There are a lot of choices! I went with a simple style.
Using my mitre saw, I cut right angles to make the frames. I glued the frames together with wood glue.
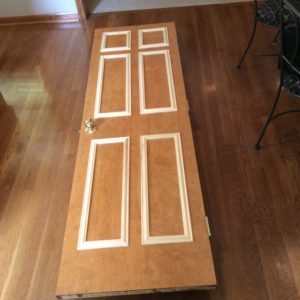
I also used wood glue to adhere the frames to the door’s surface. I added a few nails for good measure. Make sure they are smaller finishing nails.
I primed the door before painting. I checked with my paint store for a recommendation.
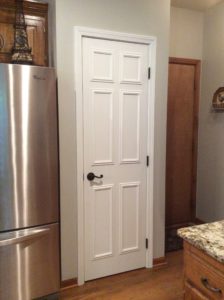
All that was left is to paint and update the handle and hinges.
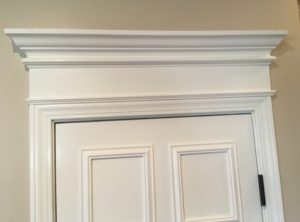
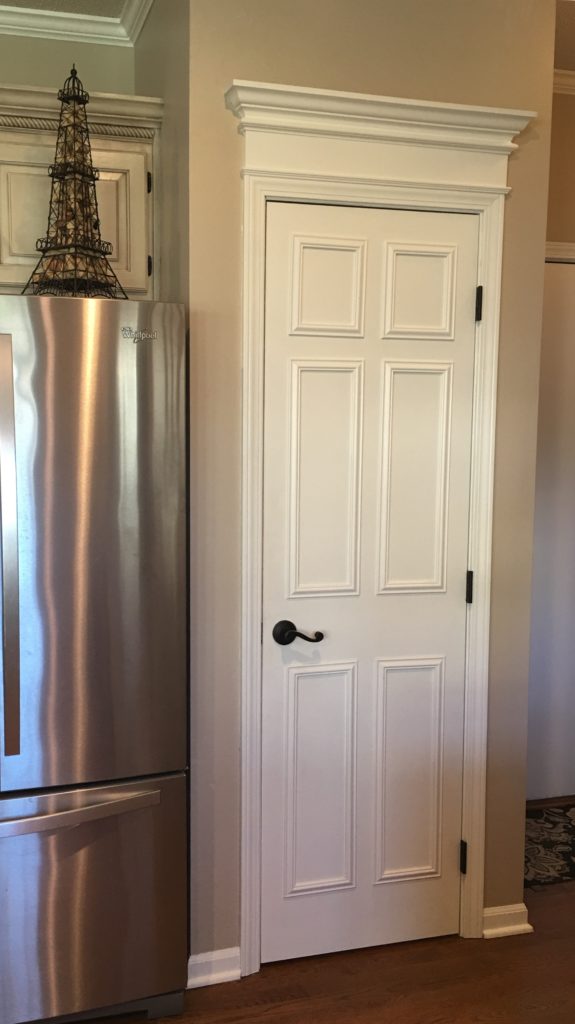
Time for one more touch. I added crown molding on top of the door. I love this look! Now for the rest of the doors!